How to Spray Single Stage Urethane Paint [Pro Finishing Guide]
To speak the truth, there are a wider range of paints, primers, and clear coats available on the market. Hence, many people get confused about which one to use to paint their car. Generally, there are two types of painting methods you can use to paint your vehicles. One is single-stage painting and the other is the two-stage paint method. However, many go for the spray single stage urethane paint for its easy one-stage process.
There are a handful of reasons why people choose single stage urethane paint over two-stage paint. One of the most convincing reasons is that the paint contains all the required components that you will not find in the base-clear system. Moreover, its one-step painting method also convinces the car owners to have it.
However, even though many people opt for single stage urethane paint yet, they do not know how to mix and spray it on their vehicles. Thus, for your convenience, we have come up with the whole process of how to mix and spray the single stage urethane paint.
Table of Contents:=>
Single Stage Urethane Paint – Is It Any Good?
Well, urethane paint is always good. In fact, it is better than some of those enamel paints. Nothing is exceptional with single-stage urethane paint. It offers a perfect finish without running any unwanted lines. Also, this paint component includes a quick-drying formula. It is resistant to fade and chipping. If you use this paint following the proper method then it is going to last for about ten years. And if you manage to maintain the exteriors of your vehicle after applying the paint it will last longer than even ten years.
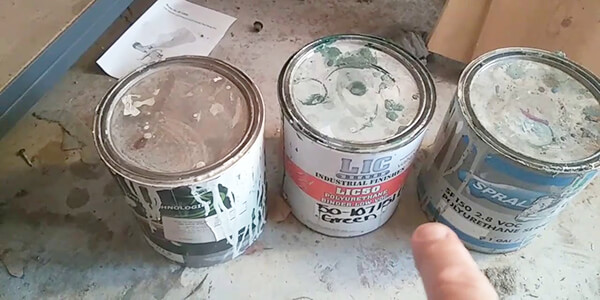
It is simply because single-stage urethane paint includes polyurethanes with the mixing pigments. These substances hold up the pigment components altogether acting as the binder. Moreover, urethane paints come with a wider number of glossiness degrees. You can choose any according to your desire. Since the single-stage urethane paint comes with all the necessary chemicals inside it, it is buffed out soon after applying.
In the 1980s, when the clear coat is not anyone’s desire, people use to use single-stage paint for their classic vehicles. You no more need a clear coat finish once you go for this one. Also, you can polish it without feeling the necessity of changing the color tone. In addition to that, single-stage urethane paint is the ultimate timesaver since it lessens the entire refinishing time.
How to Spray Single Stage Urethane Paint – Step by Step Process:
As we said, spraying single-stage urethane paint is an easy method once you know how to mix it properly and apply it. Mixing the paint can also be described step by step since this is the first and most important part. So, let’s get to know it first.
a) How to Mix Single-Stage Urethane Paint:
Mixing single-stage urethane paint is the ultimate solution when you are lazy for going with multistage applications. To have a professional-looking finish, try to get a proper mix of the single-stage paint first.
Required Materials:
- Measuring cups
- Urethane paint
- Bucket
- Stir stick
- Floetrol
- Clearcoat
These are the things you will need, to mix your single-stage urethane paint. Now let’s get to the mixing steps.
Step 1: Know the Mixing Ratios and Fill the Bucket:
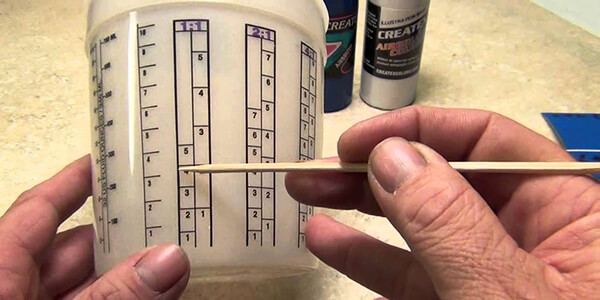
This is the first and foremost thing to do when mixing the single-stage paint. In this case, you must follow the instructions that are indicated on the product label. In most products, the instruction indicates the mixing ratio of paint, reducer, and finally clear coat respectively. The ratios indicate you need to mix 4 or 3 parts of the urethane paint with one part reducer and one part clear coat.
These ratios are enough to get full coverage of single-stage paint. So, following the instructions, you have to maintain the mixing ratio. Now, using a measuring cup, fill the bucket measuring the urethane paint. If you maintain the ideal ratio, the result is going to be as expected.
In case, your paint product did not come with a label or ratio instruction then better contact with the manufacturing company. Since ratios differ from manufacturing company to company, knowing them is important.
Step 2: Time to Add Reducer:
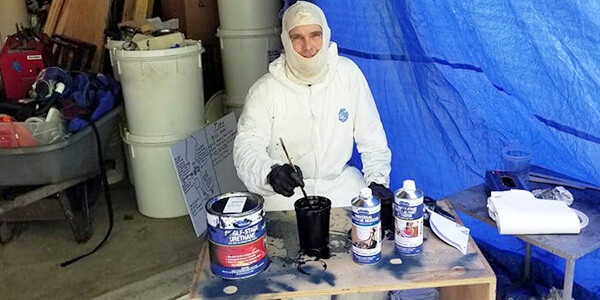
To make a proper mixing, you will also need a paint thinner or reducer. However, there are different paint types that need different paint thinners. Now that we are mixing single-stage paint, it has to be nothing but urethane. Additionally, the reducer that is used with urethane is known as floral. For mixing and spraying purposes, adding a reducer is important. It helps in the smooth spraying of the paint. So, pour it into the bucket maintaining the proper ratio. Take a reducer of an amount of 32 ounces if your ideal mixing ratio is 4:1:1. It is one-fourth of the quantity of paint.
Step 3: Add Clear Coat As Well:
When you are done adding paint and reducer or paint thinner, it is time to add a clear coat into the mixture. You need to measure it as well before pouring it into the bucket. According to the amount you have taken for the paint and then the reducer, take a clear coat in the same way. If you take a gallon of paint, it will simply mean to weigh 128 ounces. So, take a clear coat likewise.
Step 4: Stir the Mixture:
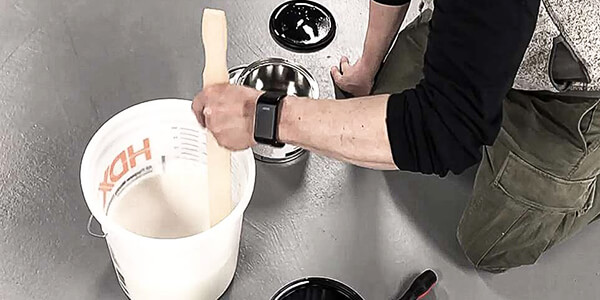
Finally, it is time to stir the mixture properly. It is better if you use a stir stick for paint for this purpose. Mixing should be done evenly. Make sure each of the mixing elements gets incorporated properly. Hence, keep mixing them for about ten minutes. That is the way you can manage to slay even the distribution of the substances you have added to the mixture. When you mix it properly, your single-stage urethane paint is ready for convenient and accurate application.
b) Spraying and Painting:
Now that you have the proper paint mixing, it is time to know how to spray single-stage paint urethane. Let’s get to know the process step by step.
Step 1: Deal with the Rusty Areas:
Apply the conditioner over the areas where you find rust. The conditioner will react with the rust and eventually clean it off.
Step 2: Fill the Holes and Dents:
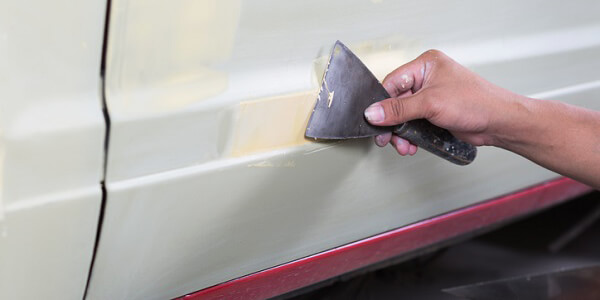
This step comes along with dealing with rusty areas. Filling the holes of the vehicle surface is also important. Thus, for this purpose, the required materials are body filler and a plastic putty knife. Grab some body-filler with the help of the putty knife and then fill the dents and holes with it. When you are done filling the holes, sand the to make them even.
Step 3: Mask Off the Unwanted Areas:
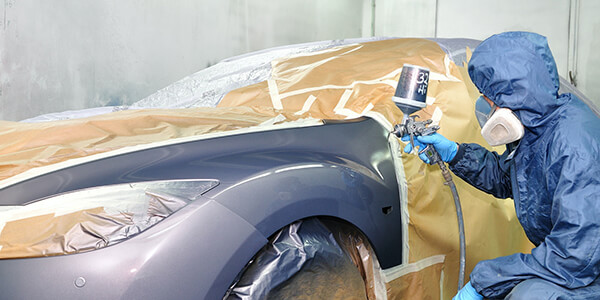
Places where you do not want to paint need to be masked off. You can use masking paper or tape to hide these areas. Hiding these areas is important. Otherwise, you will find a messy finish after spraying the paint. Also, to protect the paper sheets from overspray, tape them down. Only that way, the paint will not go underneath and ruin them eventually.
Step 4: Prepare the Spray Gun:
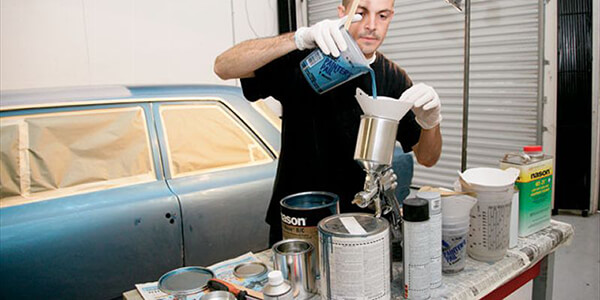
Now, it is time to proceed with the most crucial part of the process is preparing the spray gun. First, you need to fill the spray gun cup with primer. When you fill it with primer, make sure to turn on the gun compressor as well. Now, before spraying the primer directly on the vehicle, make sure you are familiar with the spray pattern.
However, to get to know the pattern, rotate the air pressure along with the gun nozzle from its compressor. Keep rotating till the time you get an 8-inch vertical pattern of the spray. Make sure it creates a distance of about 6 inches.
Step 5: Let’s Start Spraying:
Now, start spraying the gun from a distance, complying with a lift to the right motion. Keep spraying from end to end and overlap up to half the width of the previous pattern.
You should run the gun at a speed that leaves a shiny texture on the surface. Be careful with the motion since there are chances of separation, runs, and drips.
Step 6: Spray Again and Then Sand:
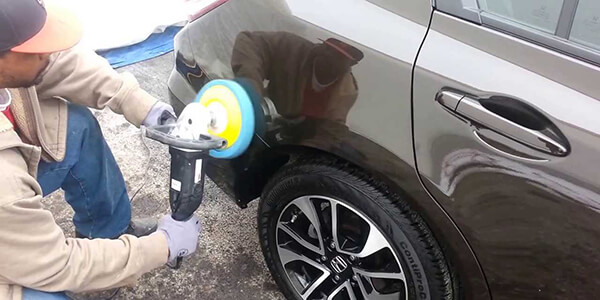
When you are done with the first layer of primer, rotate the gun nozzle at 90-degrees and start spraying again. This time make sure you make a pattern of up-down. After spraying the second coat of primer let it dry. It will take about two hours to dry properly.
When the primer dries, you need to sand it slightly. For sanding, purposes use sandpaper with 220-grit. Sand lightly and tack over the surface as well.
Step 7: Fill the Gun with Paint Mixture and Spray:
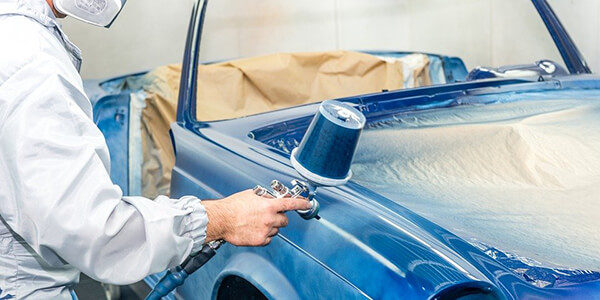
Now, fill the gun with your prepared paint mixture of urethane, reducer, and clear coat. Then spray the gun over the surface following the same process and keeping the same distance that you have done while spraying primer.
Step 8: Finally, Let It Dry, and If Needed, Apply a Second Coat:
Lastly, let the applied paint dry completely. It will take about 12 hours to one day to dry properly. When it dries, if you feel the necessity of applying the second coat of urethane then apply it. Then again sand the vehicle surface with sandpaper of 400-grit. Again, tack the area and re-spray single-stage urethane paint. The finishing time of the cure will be one day to three days longer.
In the end, polish or apply wax over the surface when it is time to buff it out. After buffing out, voila, you will get your long-cherished shiny perfect finish.
c) How to Spray Single Stage Metallic Paint:
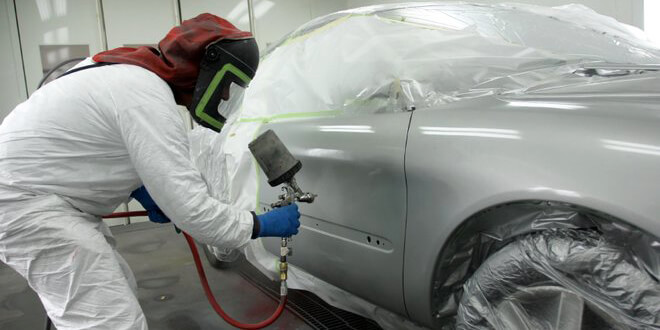
Applying single-stage metallic paint makes your car more attractive and noticeable. If you own a muscle car or a sports car, you must go for the single-stage metallic paint. The paint is also a premium type and increases the car’s resale value. Also, for being highly reflective, this paint can hide any scratches or dings.
Nevertheless, the method of spraying single-stage metallic paint is almost the same as spraying single-stage. However, the only exception is that, to apply this paint, you have to use the base or clear coat as well. Otherwise, spraying this paint becomes difficult. And it can result in an uneven finish.
It is clear what you need to know and how to spray single-stage urethane paint. In our discussion of single-stage paint finishing, we discussed several processes.
FAQs:
Question: Can metallic paint be sprayed?
Answer: For applying any kind of paint, the best method is to spray them over the surface. Metallic paint is also not an exception. However, you can roll the paint as well with even very little experience. Yet, it is a bit tough when you have to roll the paint over the surface and then come back to dip the roll for another shot.
Question: How do you spray metallic paint evenly?
Answer: To get an even coat of metallic paint, apply multiple layers of thick coats instead of just only one thick coat. When you reach the end while spraying each pass make sure to release its tip. Also, make a spray motion that will ensure an even coat. If you are doing it side to side, do the motion right. You can overlap one-third width of each pass while spraying.
To get a smooth and even finish, sand the surface with fine-grit sandpaper or sanding grit. Then spray the paint over the surface again to have an ideal finish.
Question: Does urethane paint need a primer?
Answer: Usually, urethane paint is meant to settle only when the primer is done. Nonetheless, it is necessary to use the appropriate primer to prevent paint failure. Urethane paint is undoubtedly highly durable, yet with the right primer, it lasts for years. Hence, before you apply urethane paint to your vehicle, make sure you prepare the surface with a proper primer first.
Last Updated on June 24, 2025 by Rogers Weber
[As an Amazon Associate I earn from qualifying purchases.]


